Utilizing phpMyAdmin empowers users to modify MySQL and MariaDB databases seamlessly. Compatible with cPanel, Plesk, and DirectAdmin, this tool facilitates column deletion within a database. Follow these steps to drop columns via phpMyAdmin:
To remove columns from a database table using phpMyAdmin, follow these steps:
Note: Prior to initiating, we strongly advise creating a database backup, as the following actions lead to irreversible data loss.
-
Log in to your control panel account (cPanel, DirectAdmin, or Plesk).
-
Locate and access phpMyAdmin.
-
The phpMyAdmin window will open. Choose a database from the provided list.

-
Expand the table by clicking on the '+' icon next to it, revealing the available columns.
-
Access the Columns option. A panel displaying the list of columns and associated functions will be visible.

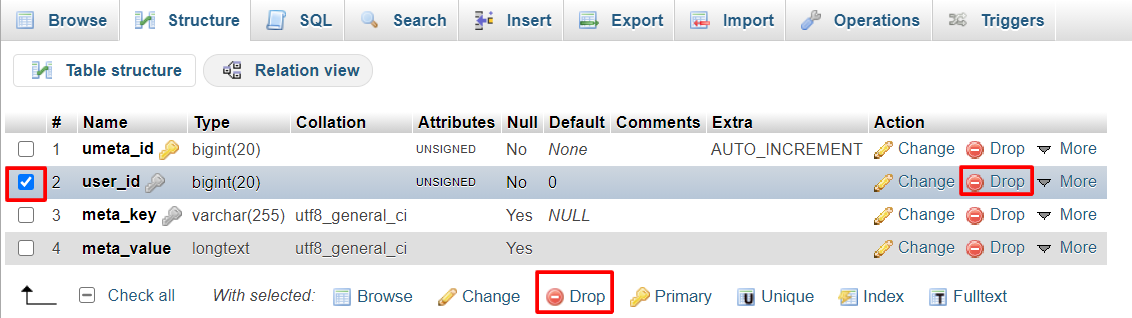
Note: The "Drop" function irreversibly erases the column and its data from your database. Ensure this action won't impact your database, as the data will be unrecoverable.
7. A pop-up window will show the column details to be dropped. After you've double-checked the information, click OK to proceed.

phpMyAdmin will permanently remove the column from the table.