To activate cPHulk Brute Force Protection, follow these steps:
-
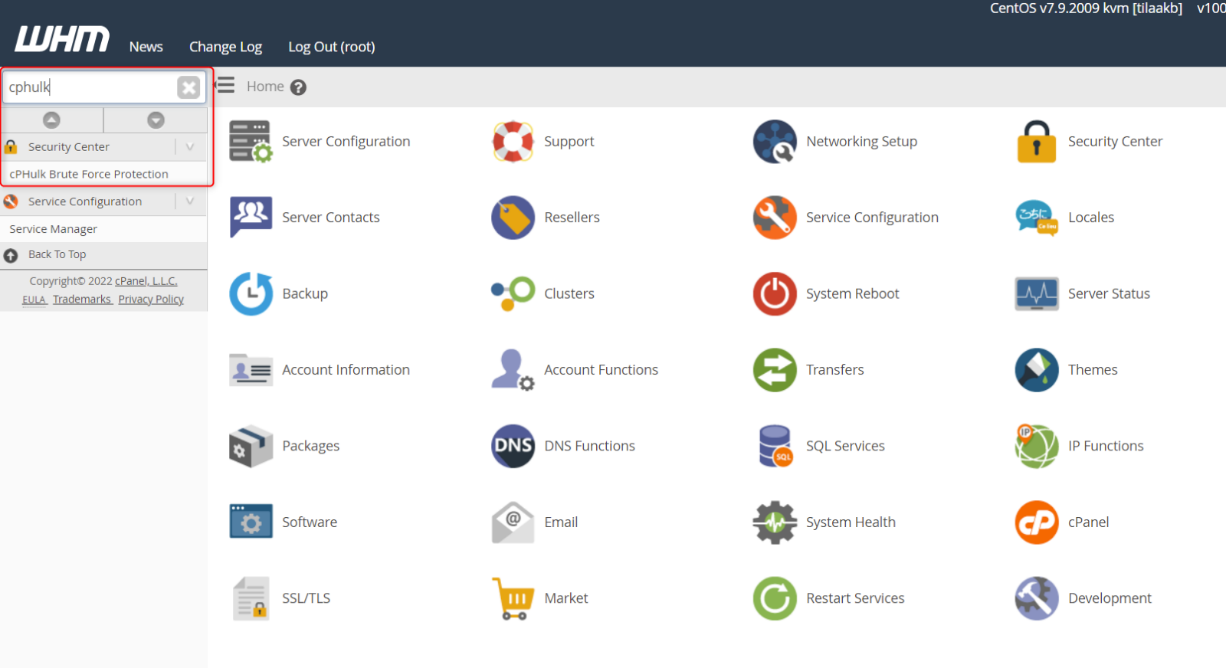
Access WHM by logging in with the server's root password. Root access is required to enable or disable this feature.
-
Navigate to the "Security Center" and locate the option for "cPHulk Brute Force Protection.
-
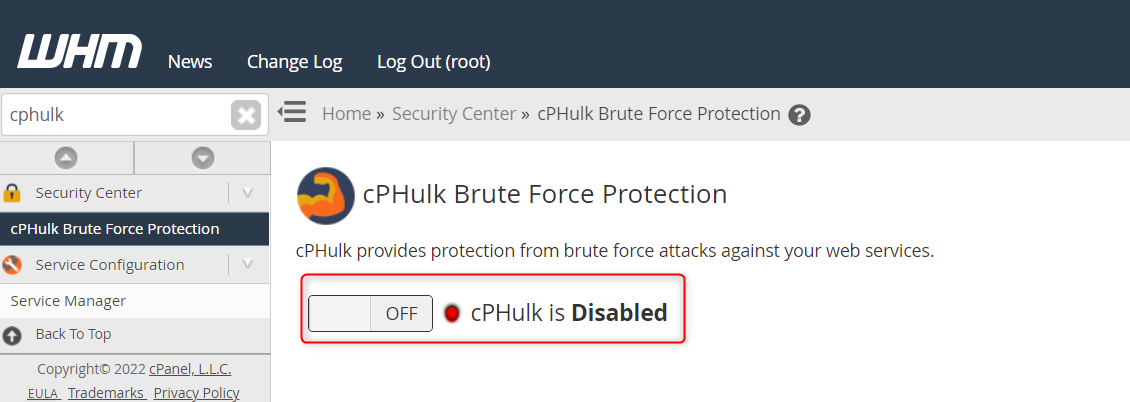
After clicking this button, you will notice that cPHulk is currently deactivated. To enable it, switch the toggle to the "on" position in this menu.
-
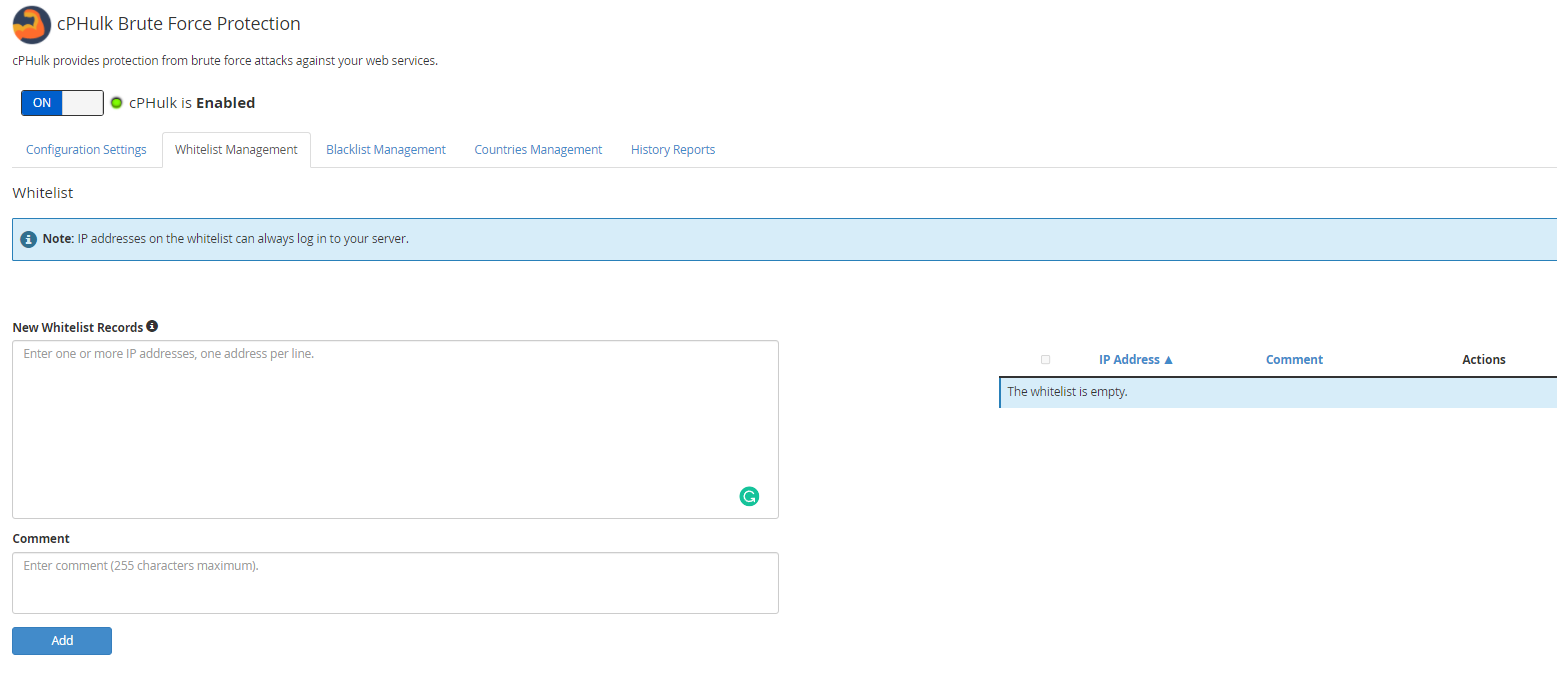
Once you've switched it on, you can choose your cPHulk settings before selecting the "Save" button located at the bottom of the page.
If you're experiencing denied cPanel login due to cPHulk Brute Force Protection, follow these steps to disable it.
By default, cPanel triggers this protection mechanism after a set number of failed login attempts, leading to the error message "Permission refused, please try again." To resolve this, you'll need to access the server and reset cPHulk.
If your SSH access is also denied, utilize the video display on the Tilaa Dashboard for login. The easiest solution is to disable the cPHulk service using the instructions below, which will shut down the service and terminate any active processes.
whmapi1 configureservice service=cphulkd enabled=0 monitored=0
/usr/local/cpanel/etc/init/stopcphulkd
/usr/local/cpanel/bin/cphulk_pam_ctl --disable
Now, you can log in to cPanel and activate cPHulk Brute Force Protection following the instructions outlined in the initial section of this article.
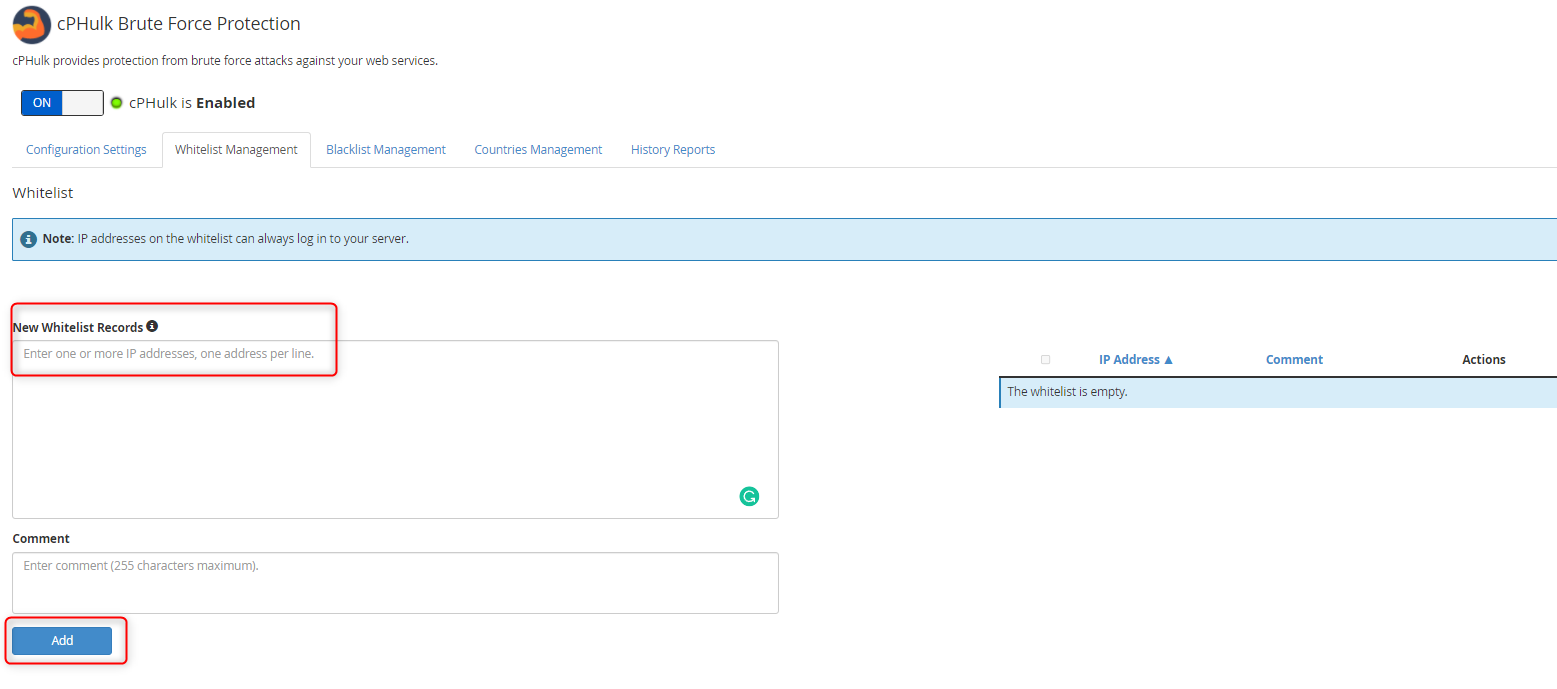
To avoid encountering this issue in the future, consider whitelisting your own IP. To do this, access the White/Black List Management tab within the Security Center > cPHulk Brute Force Protection.
Input your local IP address in the White List (Trusted IP List) and click on Quick Add.