-
Access your Plesk account.
-
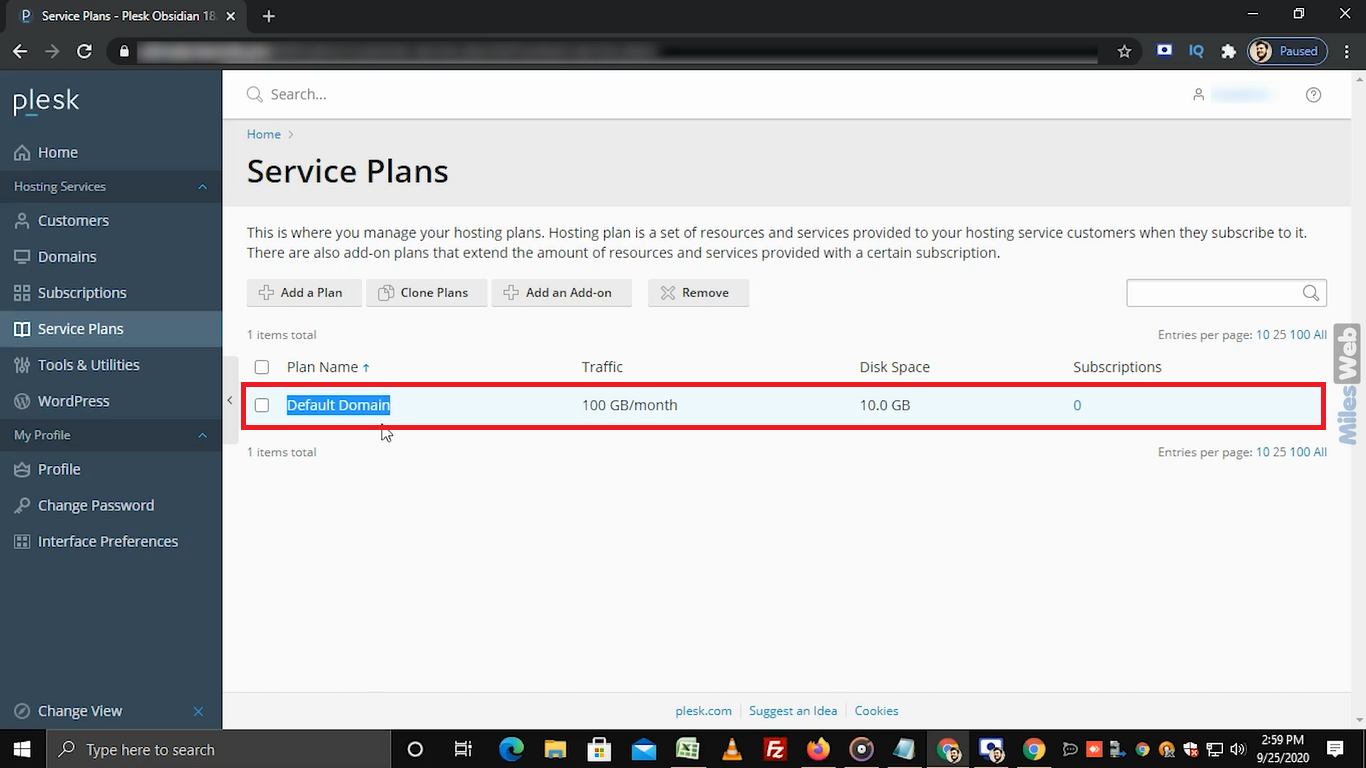
Navigate to the left sidebar, and under Hosting Services, click on Service Plans.
-
Observe the default service plan displayed on the page.
-
Click on "Add a Plan" to initiate the creation of a new service plan.
-
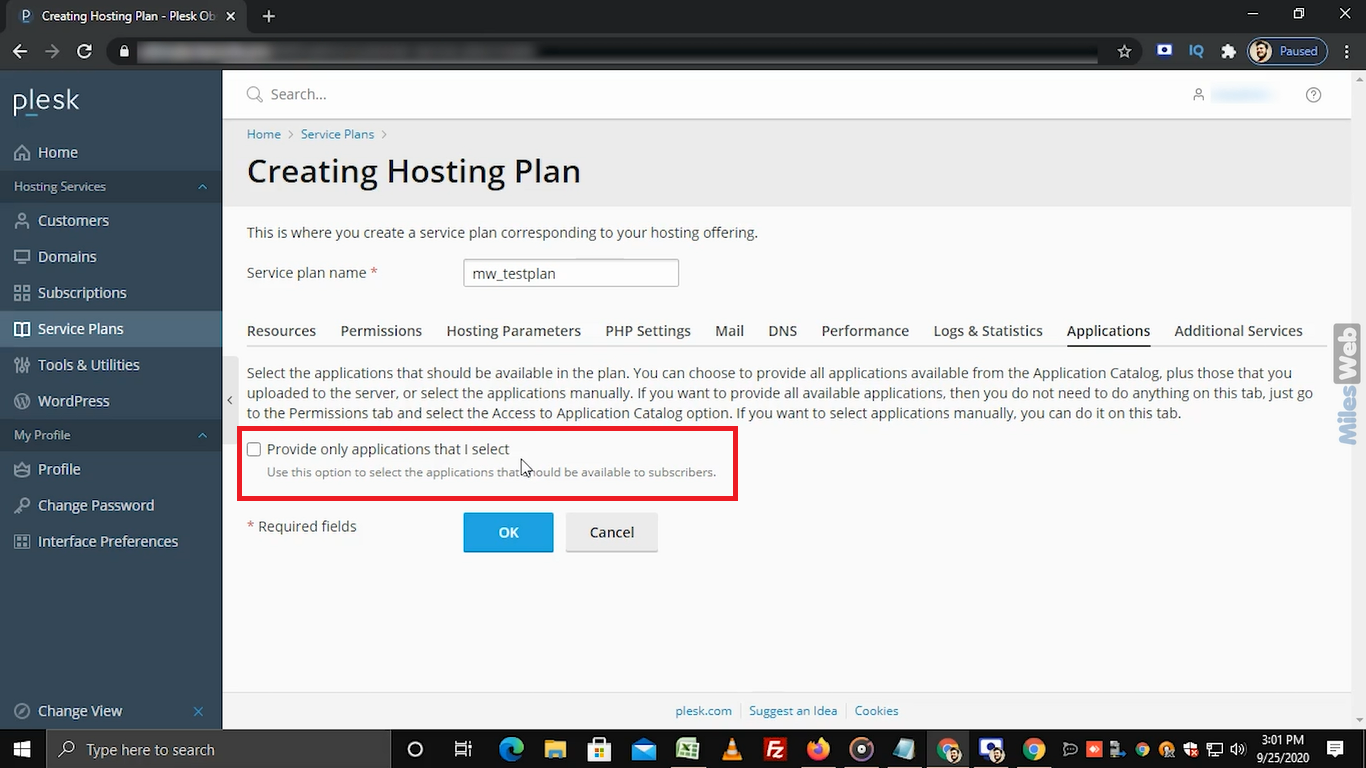
In the "Service plan name" text box, enter your preferred service plan name.
-
In the "Resources" tab, customize quotas and limits according to your needs. You can manually define specific limits or choose the unlimited option.
-
Navigate to the "Permissions" tab and select or deselect checkboxes for services and privileges. Some checkboxes are pre-selected, so uncheck any permissions you don't want to grant.
-
In the "Hosting Parameters" tab, choose the checkboxes for the hosting settings you wish to enable.
-
In the "PHP Settings" tab, modify PHP version and other settings using the dropdowns or leave them as default.
-
Select e-mail options in the "Mail" tab.
-
Decide on the DNS zone settings in the "DNS" tab.
-
Set quotas and limits in the "Performance" tab by selecting the appropriate options.
-
In the "Logs & Statistics" tab, choose checkboxes and provide necessary information in text boxes to enable these settings.
-
In the "Applications" tab, select the checkbox to choose specific applications available to customers or unselect it to make all applications available.
-
In the "Additional Services" tab, activate Let’s Encrypt and WordPress Toolkit by selecting the corresponding options from the respective dropdowns.
-
To save the chosen settings across all tabs, click on OK.
-
Upon completion, a success message will confirm your actions.
This concludes the process of creating a new service plan in Plesk.