Follow the below-mentioned steps to enable spam protection in Plesk:
-
- Log in to Plesk.
- On the left sidebar, click on Mail.
- Select the email address on which you want to enable the spam protection.
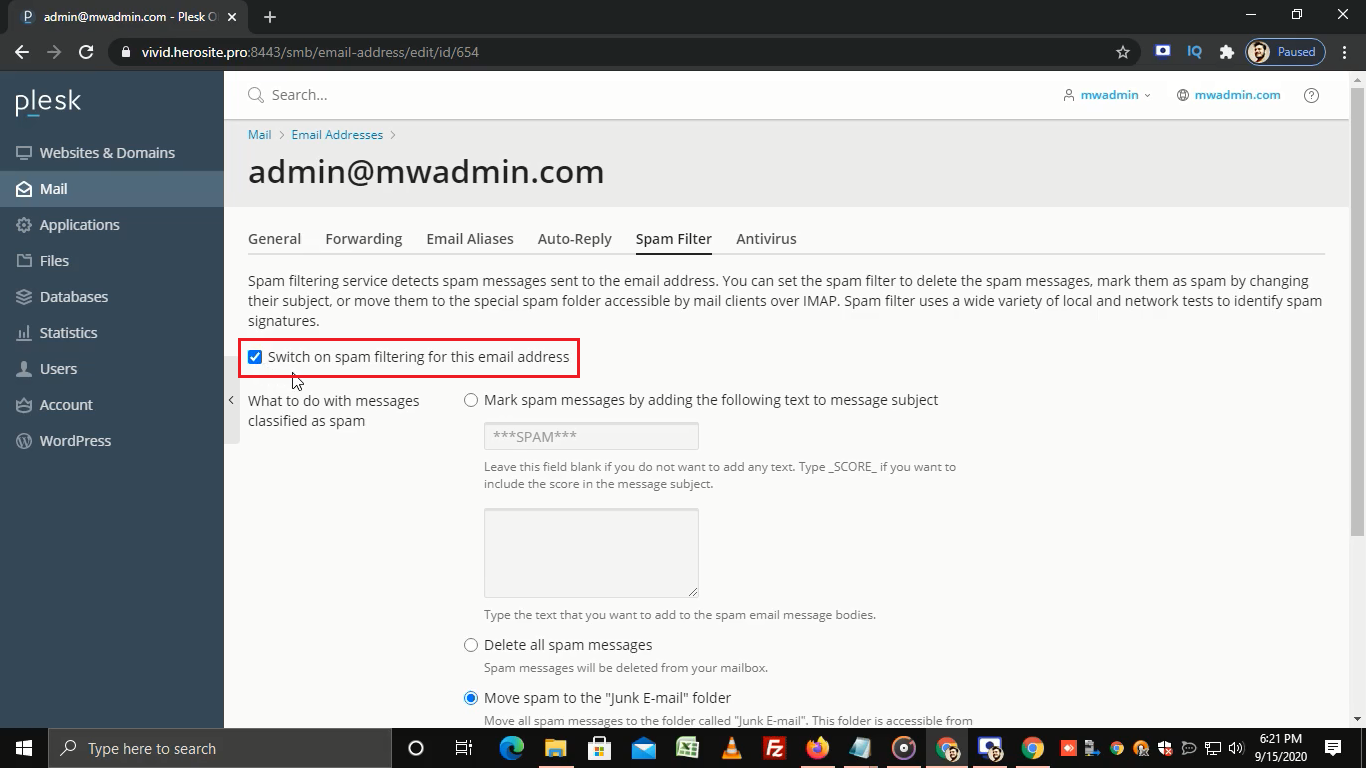
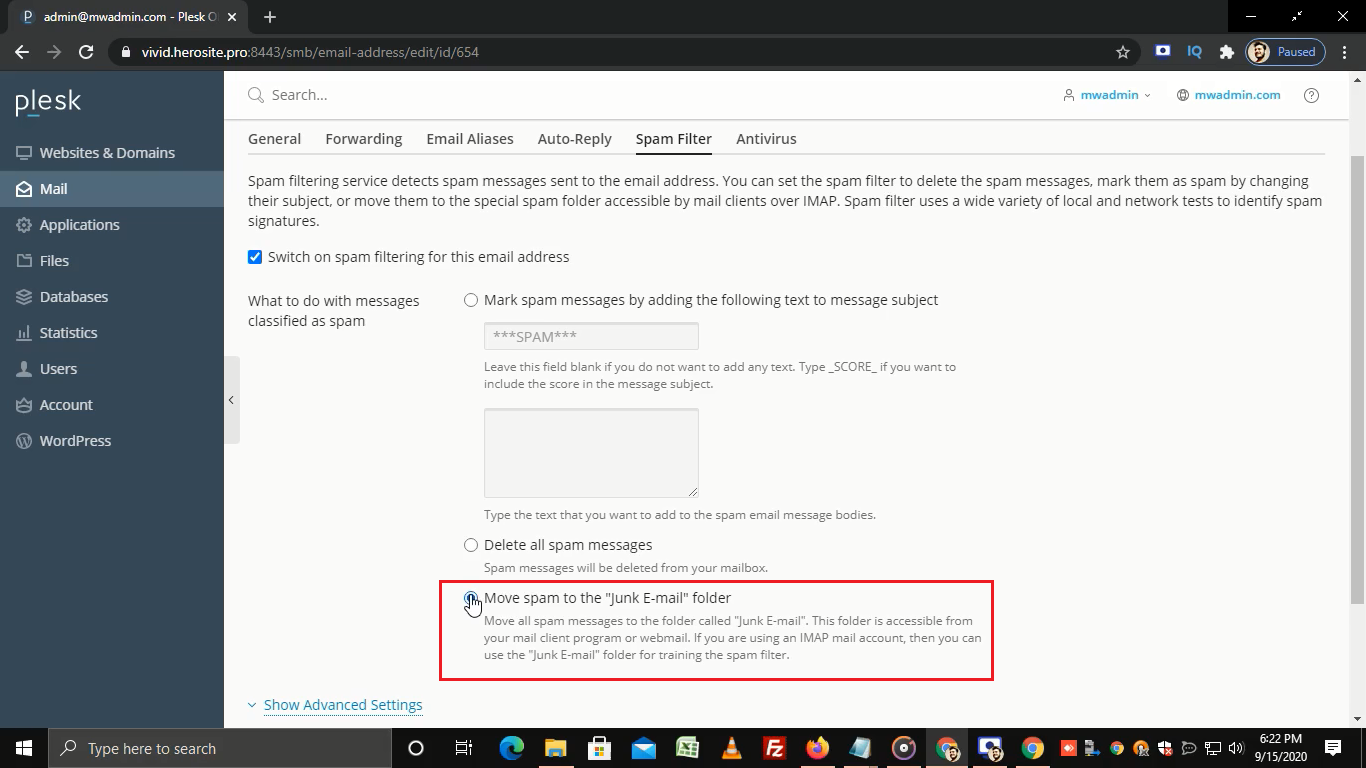
- Now, go to Spam Filter.
- Select this checkbox to Switch on spam filtering for the selected email address.
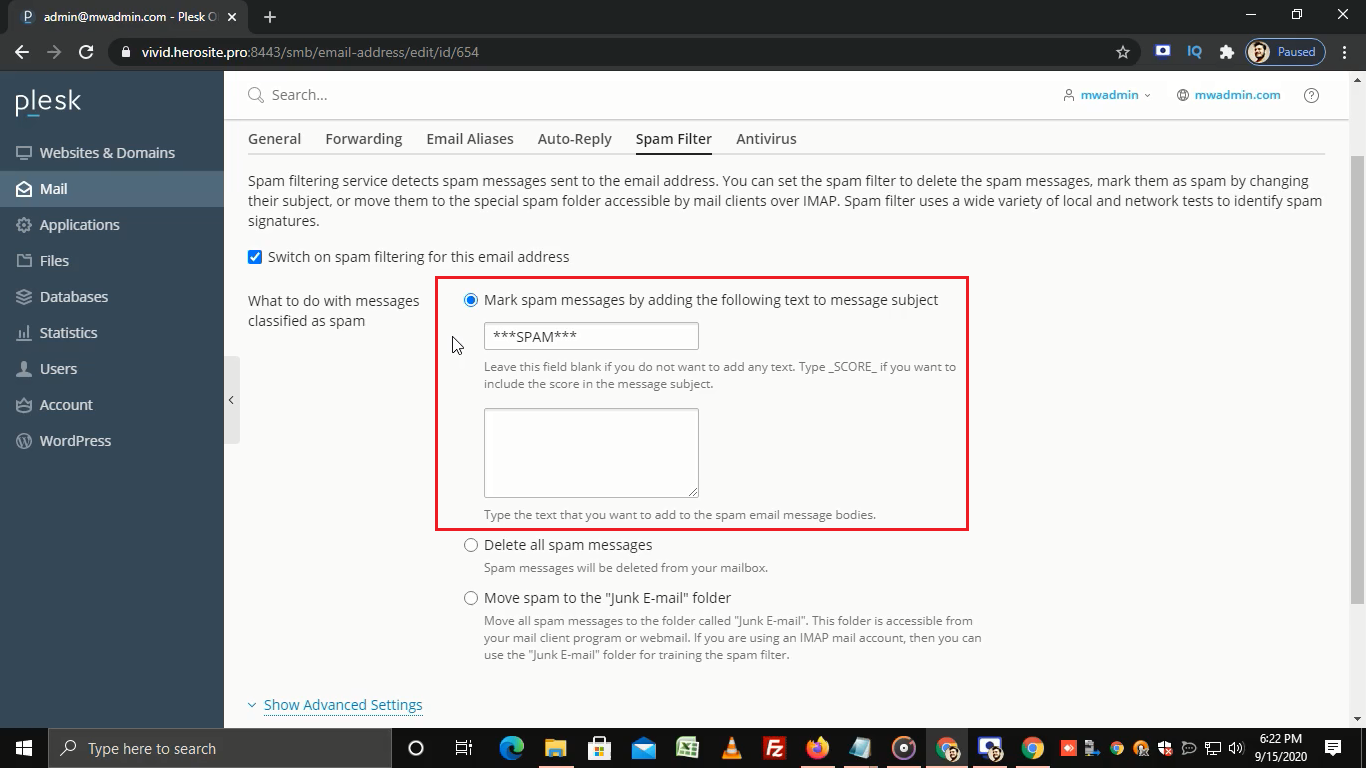
- In this section, you can choose any one option according to your choice.
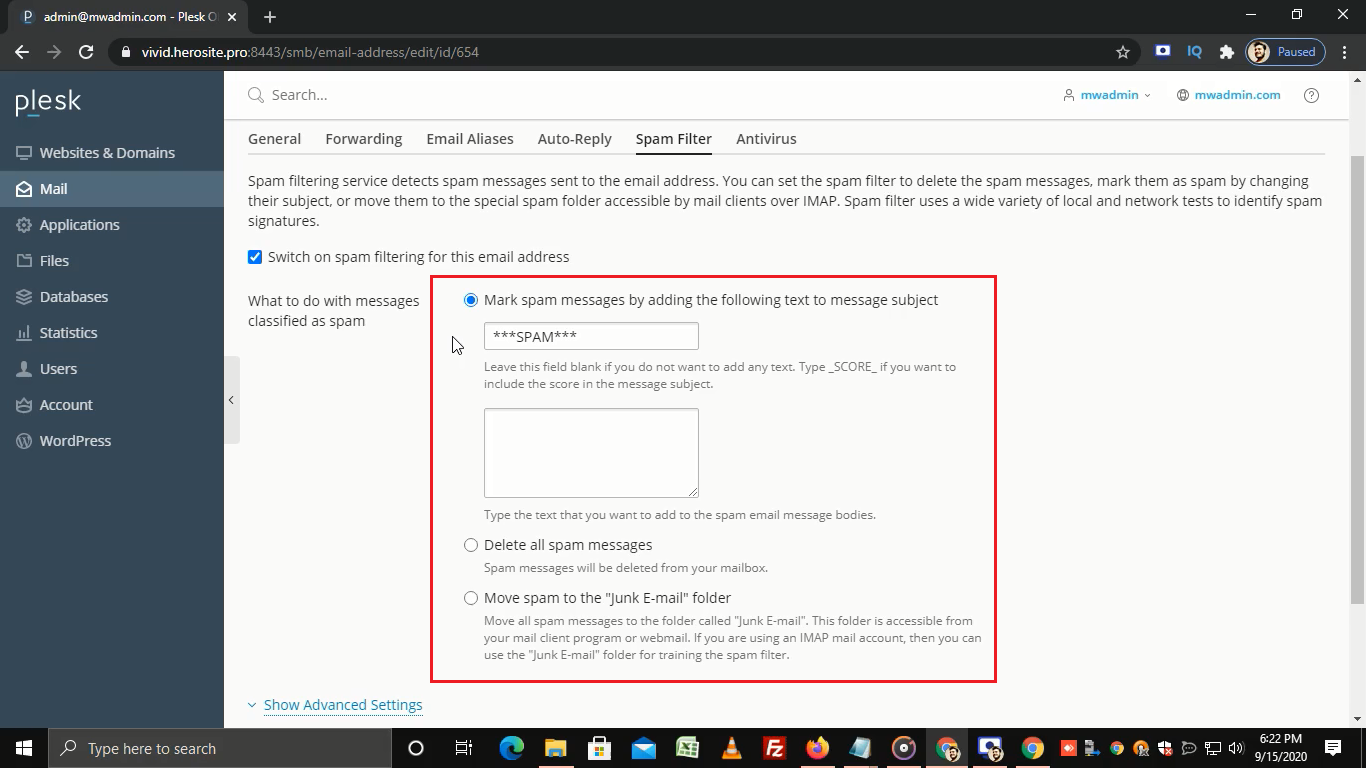
- By selecting this option you can mark spam messages that can be identified from its subject line.
- Select this option if you want to delete all spam messages.
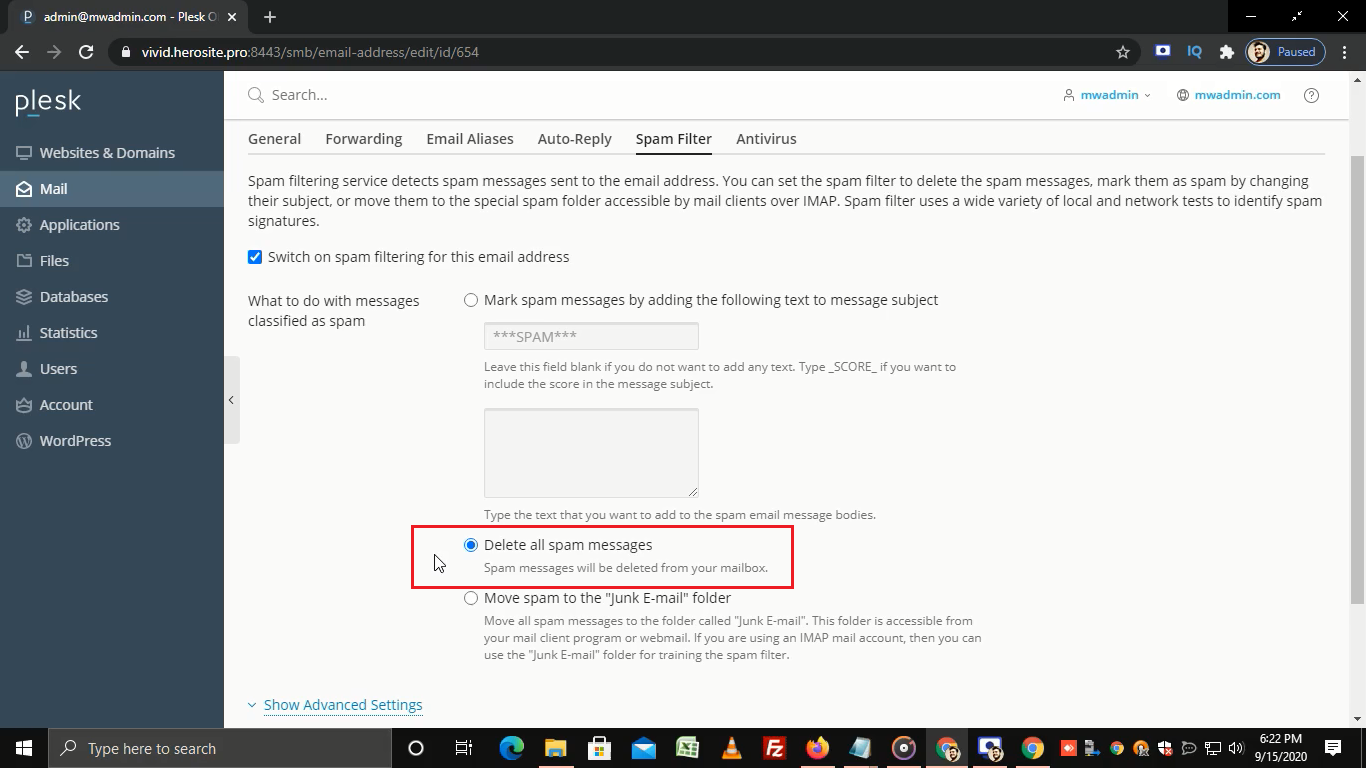
- Click on this option to move spam emails to the junk email folder.
- For more settings, expand the Advanced Settings menu by clicking on it.
- In the Spam filter sensitivity field, you can configure the sensitivity of the spam filter by typing the desired sensitivity value.
- The default value is seven. Using a smaller number increases the sensitivity of the filter, and using a greater number decreases it.
- You can add specific mail accounts or domains to the white list textbox. Mail coming from those addresses will not be filtered.
- If you want to block specific domains or email addresses then add them to the black list.
- In the trusted languages and trusted locales section, you can choose specific languages and locations, that will always pass the filter.
- If you want to allow specific IP addresses to pass the filter then, enter those IP addresses in the IP addresses textbox.
- Click on OK and once done you will get a success message.
That’s how you can enable spam protection in Plesk.