Symlink Protection software automatically mitigates vulnerabilities in a Linux kernel. WHM users can activate Symlink Protection for their server through the panel's interface.
To Enable Symlink Protection
-
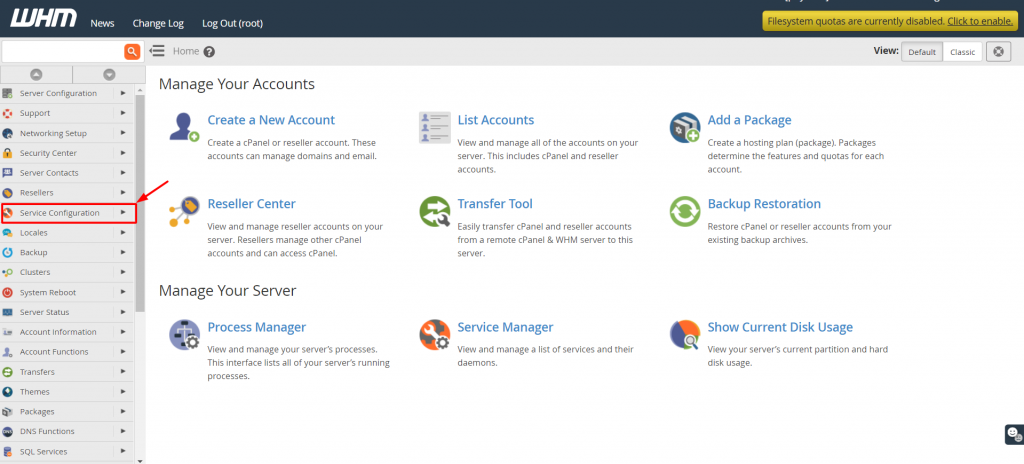
Log in to your WHM root account.
-
Access the "Service Configuration" option in the navigation menu.
-
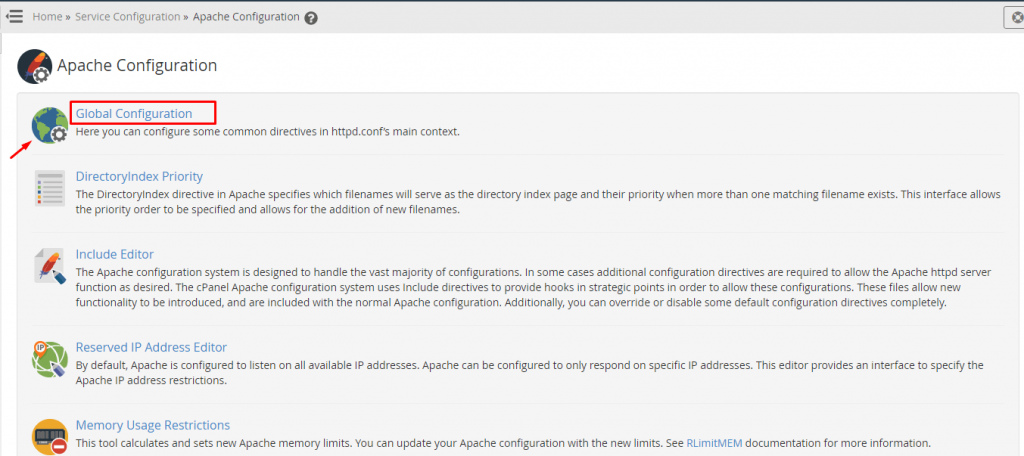
Select "Apache Configuration."

The list of Apache configuration options will be displayed.
-
Choose "Global Configuration."
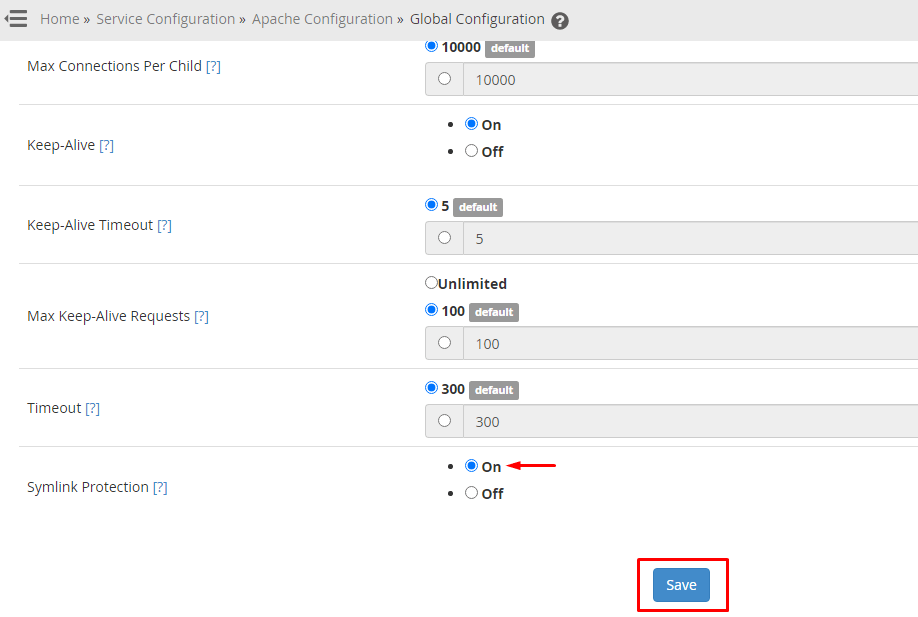
The Global Configuration interface will be visible.
-
Scroll down to the Symlink Protection option and select the radio button for "On."
-
Click "Save" to confirm the configuration.
The system will process the configurations.
-
Click the "Rebuild Configuration and Restart Apache" button.
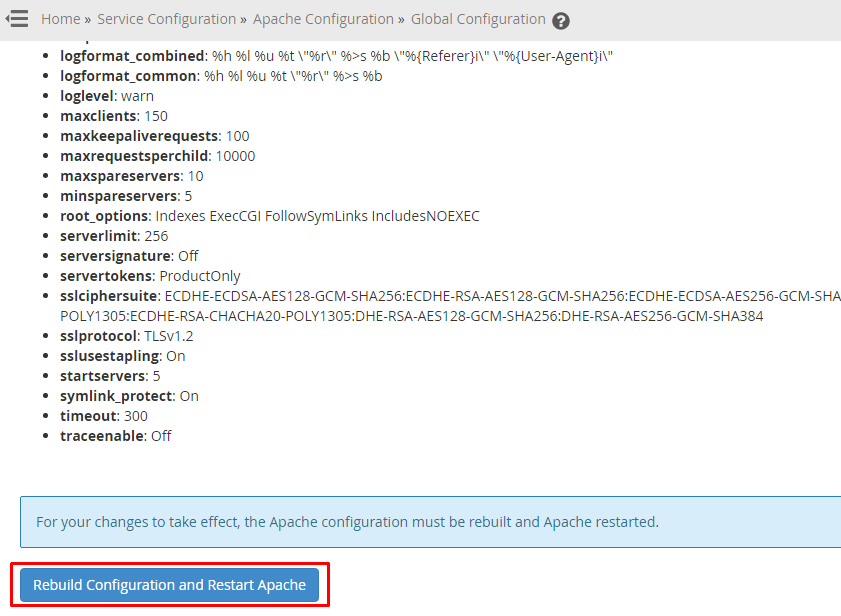
WHM will implement the modifications and activate Symlink Protection for the server.