Customising a CPanel Server with the WHM: A Step-by-Step Guide
This guide provides insights into customizing a cPanel server through the WHM server profile. Utilize a helpful tool in WHM for server profile customization, requiring comprehensive knowledge of hosting settings.
Follow these steps to customize a cPanel server with WHM:
-
Log in to WHM.
-
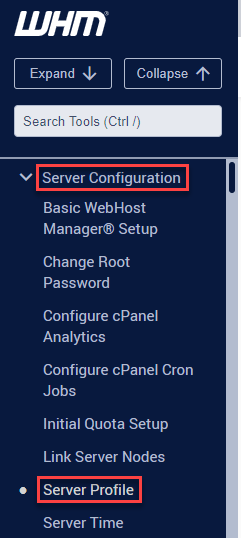
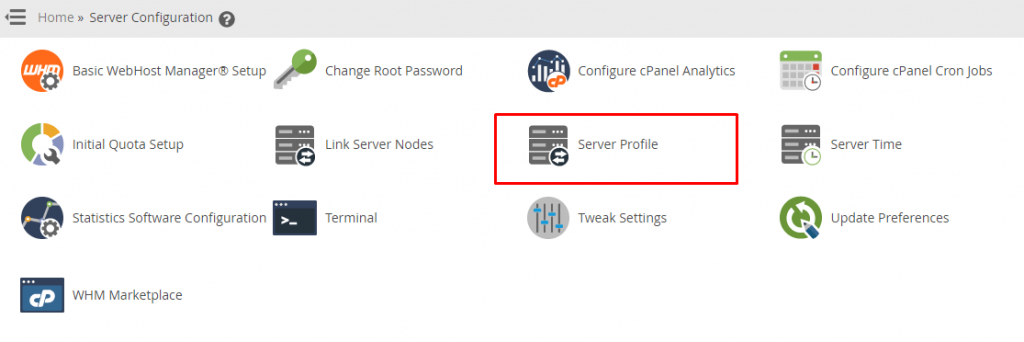
Choose the "Server Configuration" option from the left-hand side menu and click on the "Server Profile" sub-option.
-
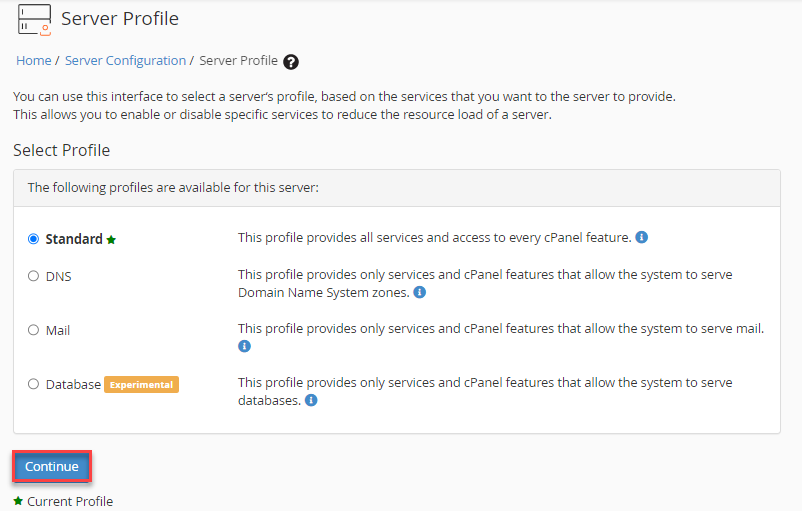
A new interface will open, presenting various profiles.
-
The server offers the following profiles:
a) Standard: Includes all services and access to every cPanel feature.
b) DNS: Limited to services and cPanel features for serving Domain Name System zones.
c) Mail: Limited to services and cPanel features for serving mail.
d) Database: Limited to services and cPanel features for serving databases.
-
Choose the desired server profile and click the "Continue" button.
-
Review the modifications and functions associated with the selected profile, then click on "Set Profile."
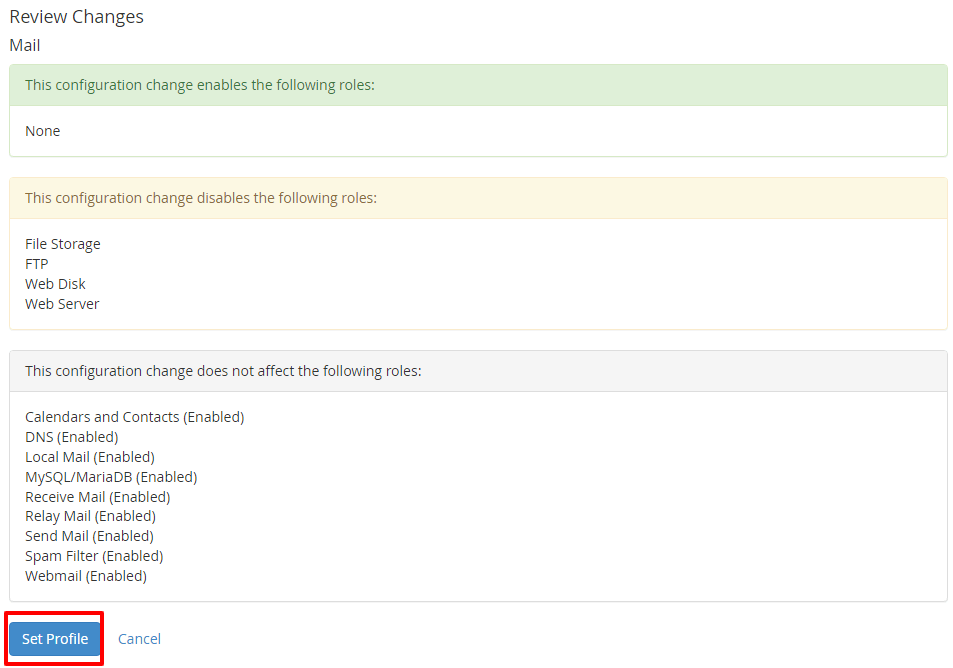
WHM will establish the server profile for your cPanel hosting and implement configurations tailored to its designated role.