MySQL profiles contain information for the connection to local or remote MySQL servers. In WHM, root users can create and manage new MySQL® profiles.
To Create MySQL® Profiles:
-
Log in to your WHM root account.
-
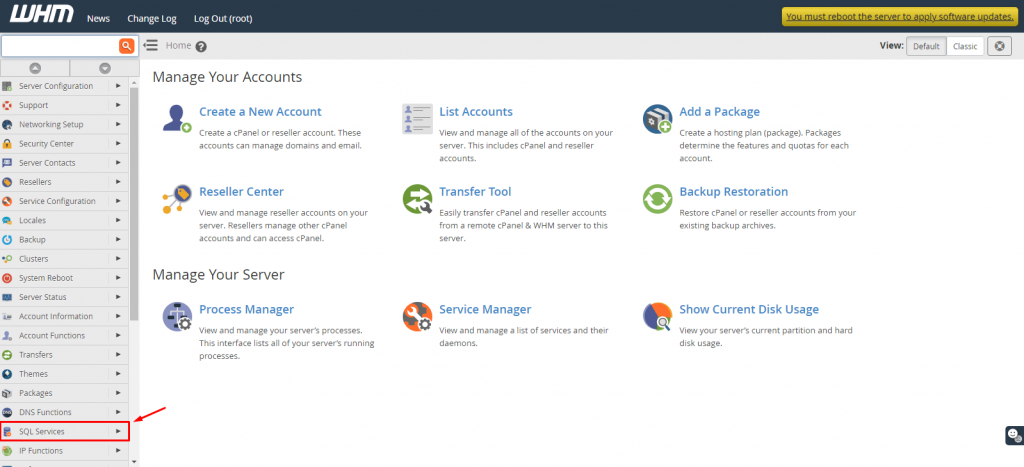
Select "SQL Services" from the menu.
-
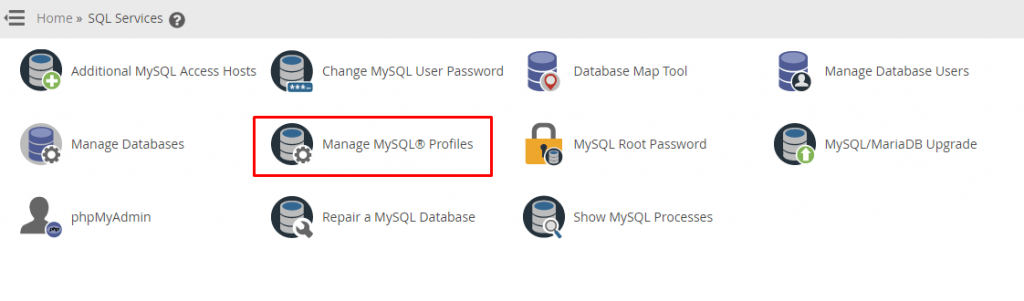
Select "Manage MySQL® Profiles."
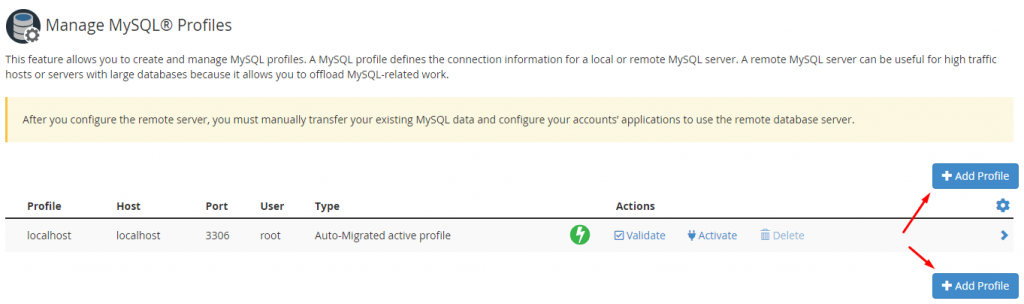
The list of current MySQL® profiles will be displayed.
-
Click on the "+Add Profile" button.
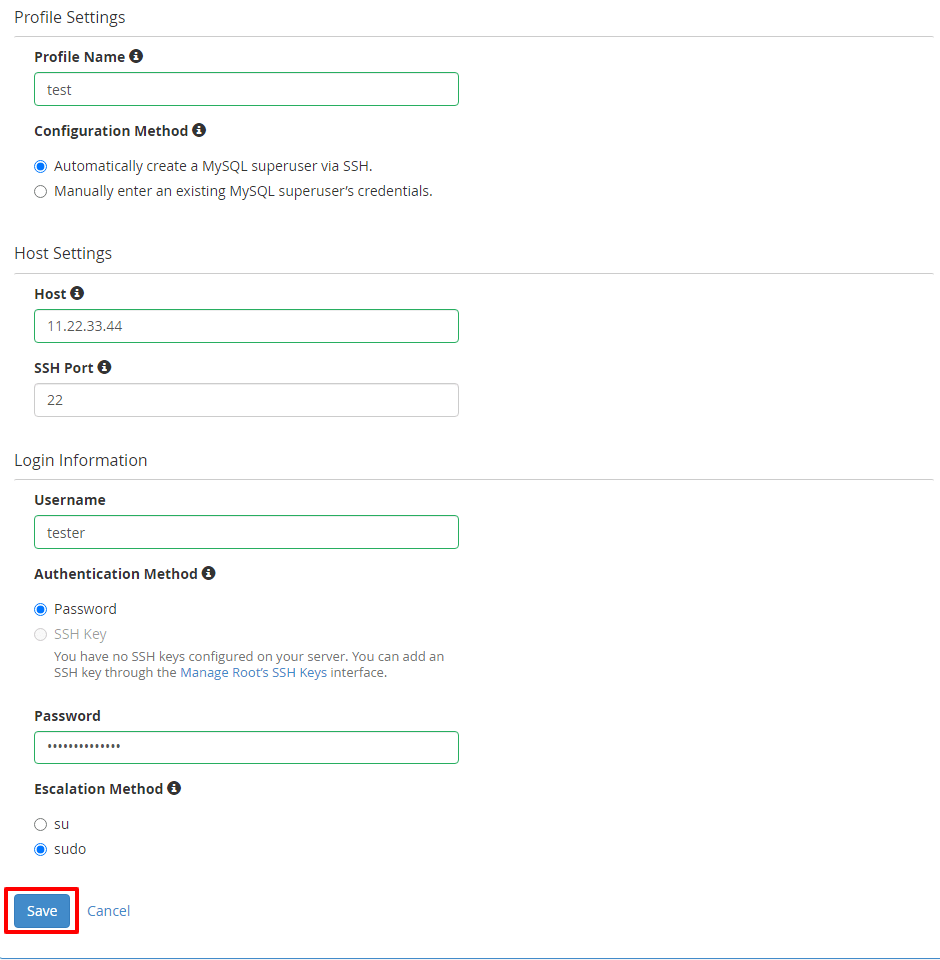
A form will display with the following fields:
-
Profile Name: Name for the MySQL profile
-
Configuration Method: Choose between automatic or manual creation of a MySQL superuser
-
Host: Insert the IP address or hostname of the MySQL server.
-
SSH Port: SSH server port
-
Username: Login user
-
Authentication Method: Opt for login via Password/SSH Key.
-
Password: Password for the profile (If Authentication Method is Password)
-
Escalation Method: Improve privileges for non-root users to access the MySQL superuser account.
-
Enter the relevant details in the fields and click on "Save."
The system will save the details and include the new profile in the list.
Utilize this method to create additional MySQL® profiles using WHM.