The upcoming article details the process of activating Symlink Protection through WHM. Symlink Protection software serves to automatically mitigate vulnerabilities in a Linux kernel.
Let's proceed with the steps to enable Symlink Protection:
-
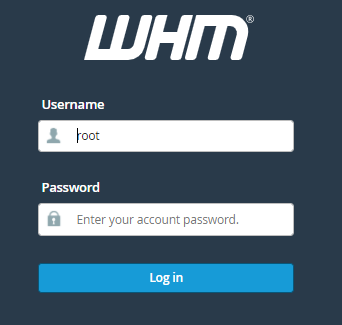
Log in to WHM.
-
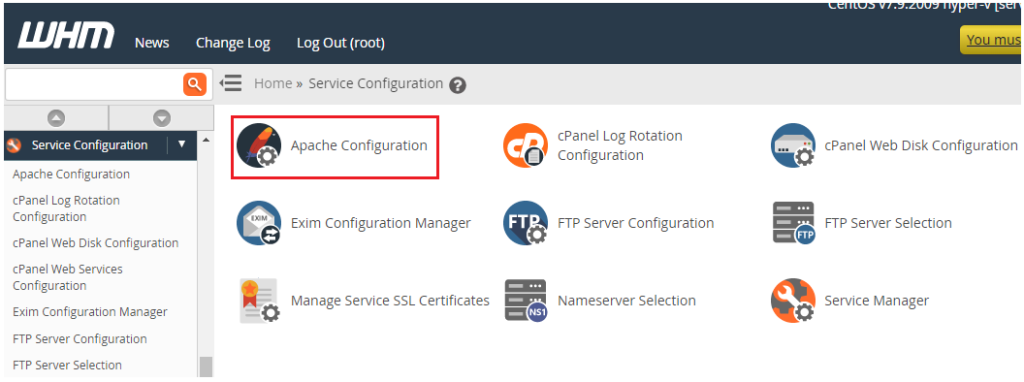
Choose "Apache Configuration" from the "Service Configuration" menu.
-
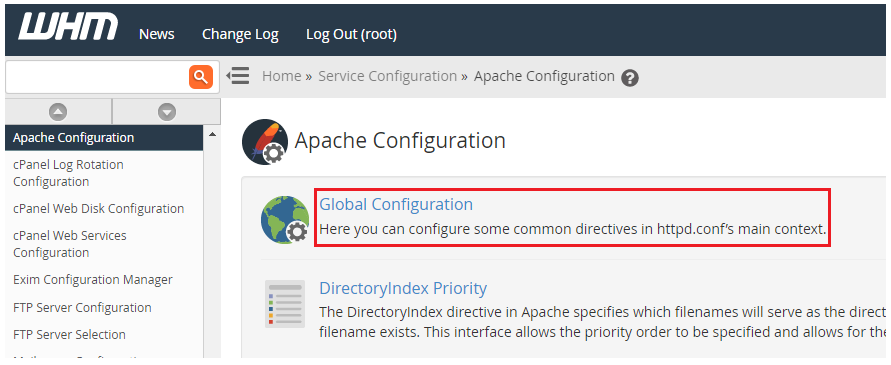
Select "Apache Configuration" and then "Global Configuration."
-
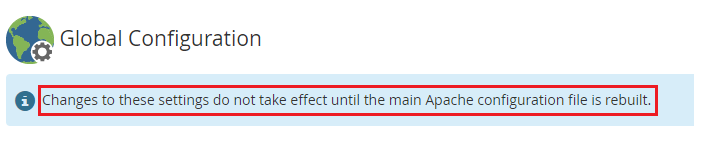
You will be directed to the Global Configuration page.
-
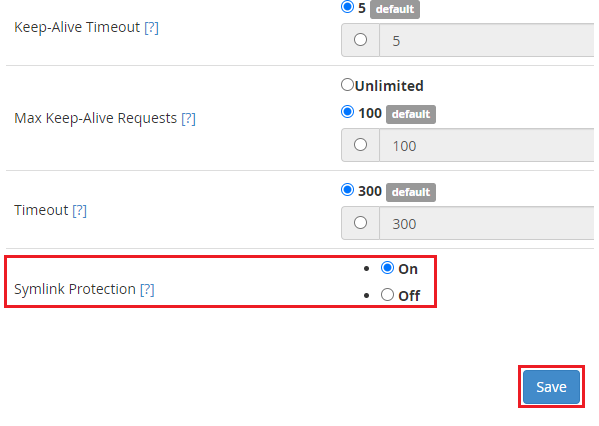
Keep scrolling until you reach "Symlink Protection."
-
Toggle the switch to the "On" position.
-
Click on the "Save" button.
-
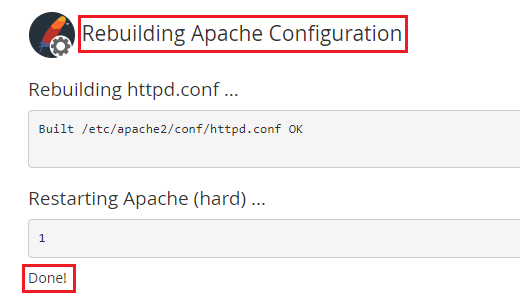
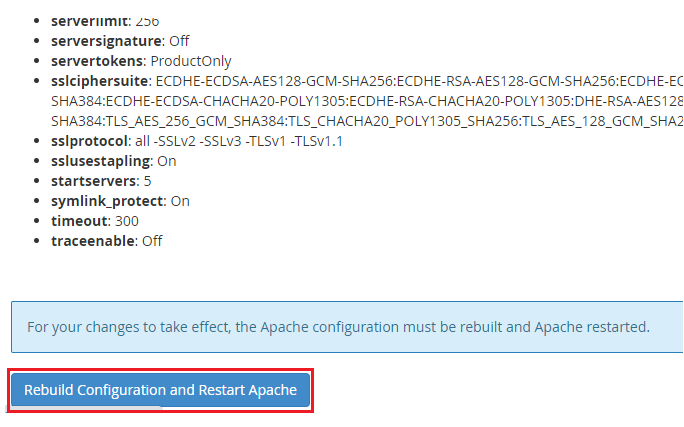
The configurations have been saved. At the bottom of the page, click the "Rebuild Configuration and Restart Apache" button.
-
You will receive a final message as depicted below.