Creating a database in Webuzo entails several steps. Here's a comprehensive guide:
-
Log in to Webuzo:
-
Open your web browser and go to the Webuzo control panel login page.
-
Provide your username and password to log in to your account.
-
Navigate to the MySQL Database Section:
-
Once you've logged in, find the "MySQL Manager" or "MySQL Database" section. The specific wording may vary depending on your Webuzo version.

-
Create a New Database:
-
Within the MySQL Database section, find an option to create a new database. This could be labeled as "Create Database," "Add Database," or a similar term.
-
Click on the corresponding button or link.
-
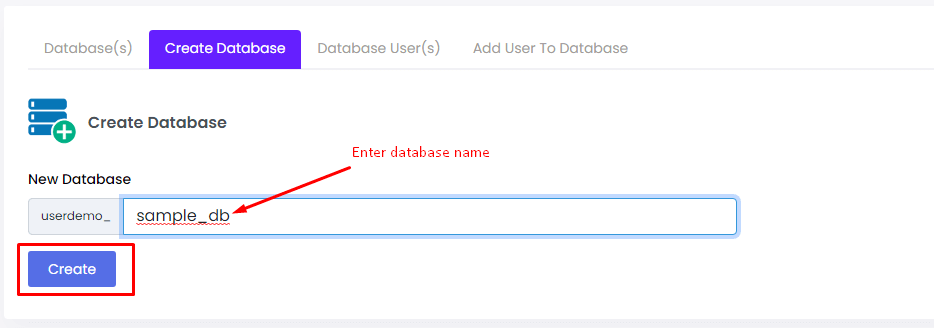
Enter Database Information:
You'll be prompted to furnish information for the new database. This usually includes:
-
Database Name: Input a distinctive name for your new database.
-
Username: Generate a username for database access.
-
Password: Establish a secure password for the database user.
-
Assign Permissions:
-
Define the permissions or privileges for the user associated with the database. This involves specifying permissions like "SELECT," "INSERT," "UPDATE," and "DELETE." Provide the necessary permissions based on your application's needs.
-
Complete the Process:
-
After entering the required information and configuring permissions, there is typically a button or option to finalize the creation of the database. Click on it to complete the process.
-
Verify Creation:
-
Confirm the successful creation of the database by checking for a confirmation message or notice. You may also find the new database listed in the MySQL Database section.